


Over almost two decades working on the UK’s inland waterways, I have seen it all. I’ve fixed countless terrifying “DIY” gas bodge jobs left behind by well-meaning owners or domestic plumbers who simply don’t understand the unique, harsh environment of a boat. Gas safety on the water isn’t something you can compromise on; a minor leak in a house vents into the air, but on a boat, LPG settles heavily into your bilges, waiting for a spark.
1. The Golden Rules of Boat Gas
Before we look at a single pipe, we must establish the absolute boundaries of marine gas safety.
⚠️ CRUCIAL: The No-DIY Rule
This checklist is designed for visual inspection only. Under UK law, boat owners must never attempt to adjust, repair, or dismantle any part of their LPG system. Marine gas work is strictly regulated to protect lives.
- The Immediate Action Clause: If you spot anything on this checklist that looks degraded, damaged, or out of order, you must immediately turn off your gas supply at the cylinder valve and contact a marine-qualified Gas Safe engineer.
- The Annual Service Recommendation: Just like a car or a home boiler, all marine LPG appliances should be professionally checked, serviced, safety-tested and certified by a Gas Safe engineer at least once every 12 months. Hidden components like internal seals, safety shut-off devices and other internal parts can degrade silently over time.
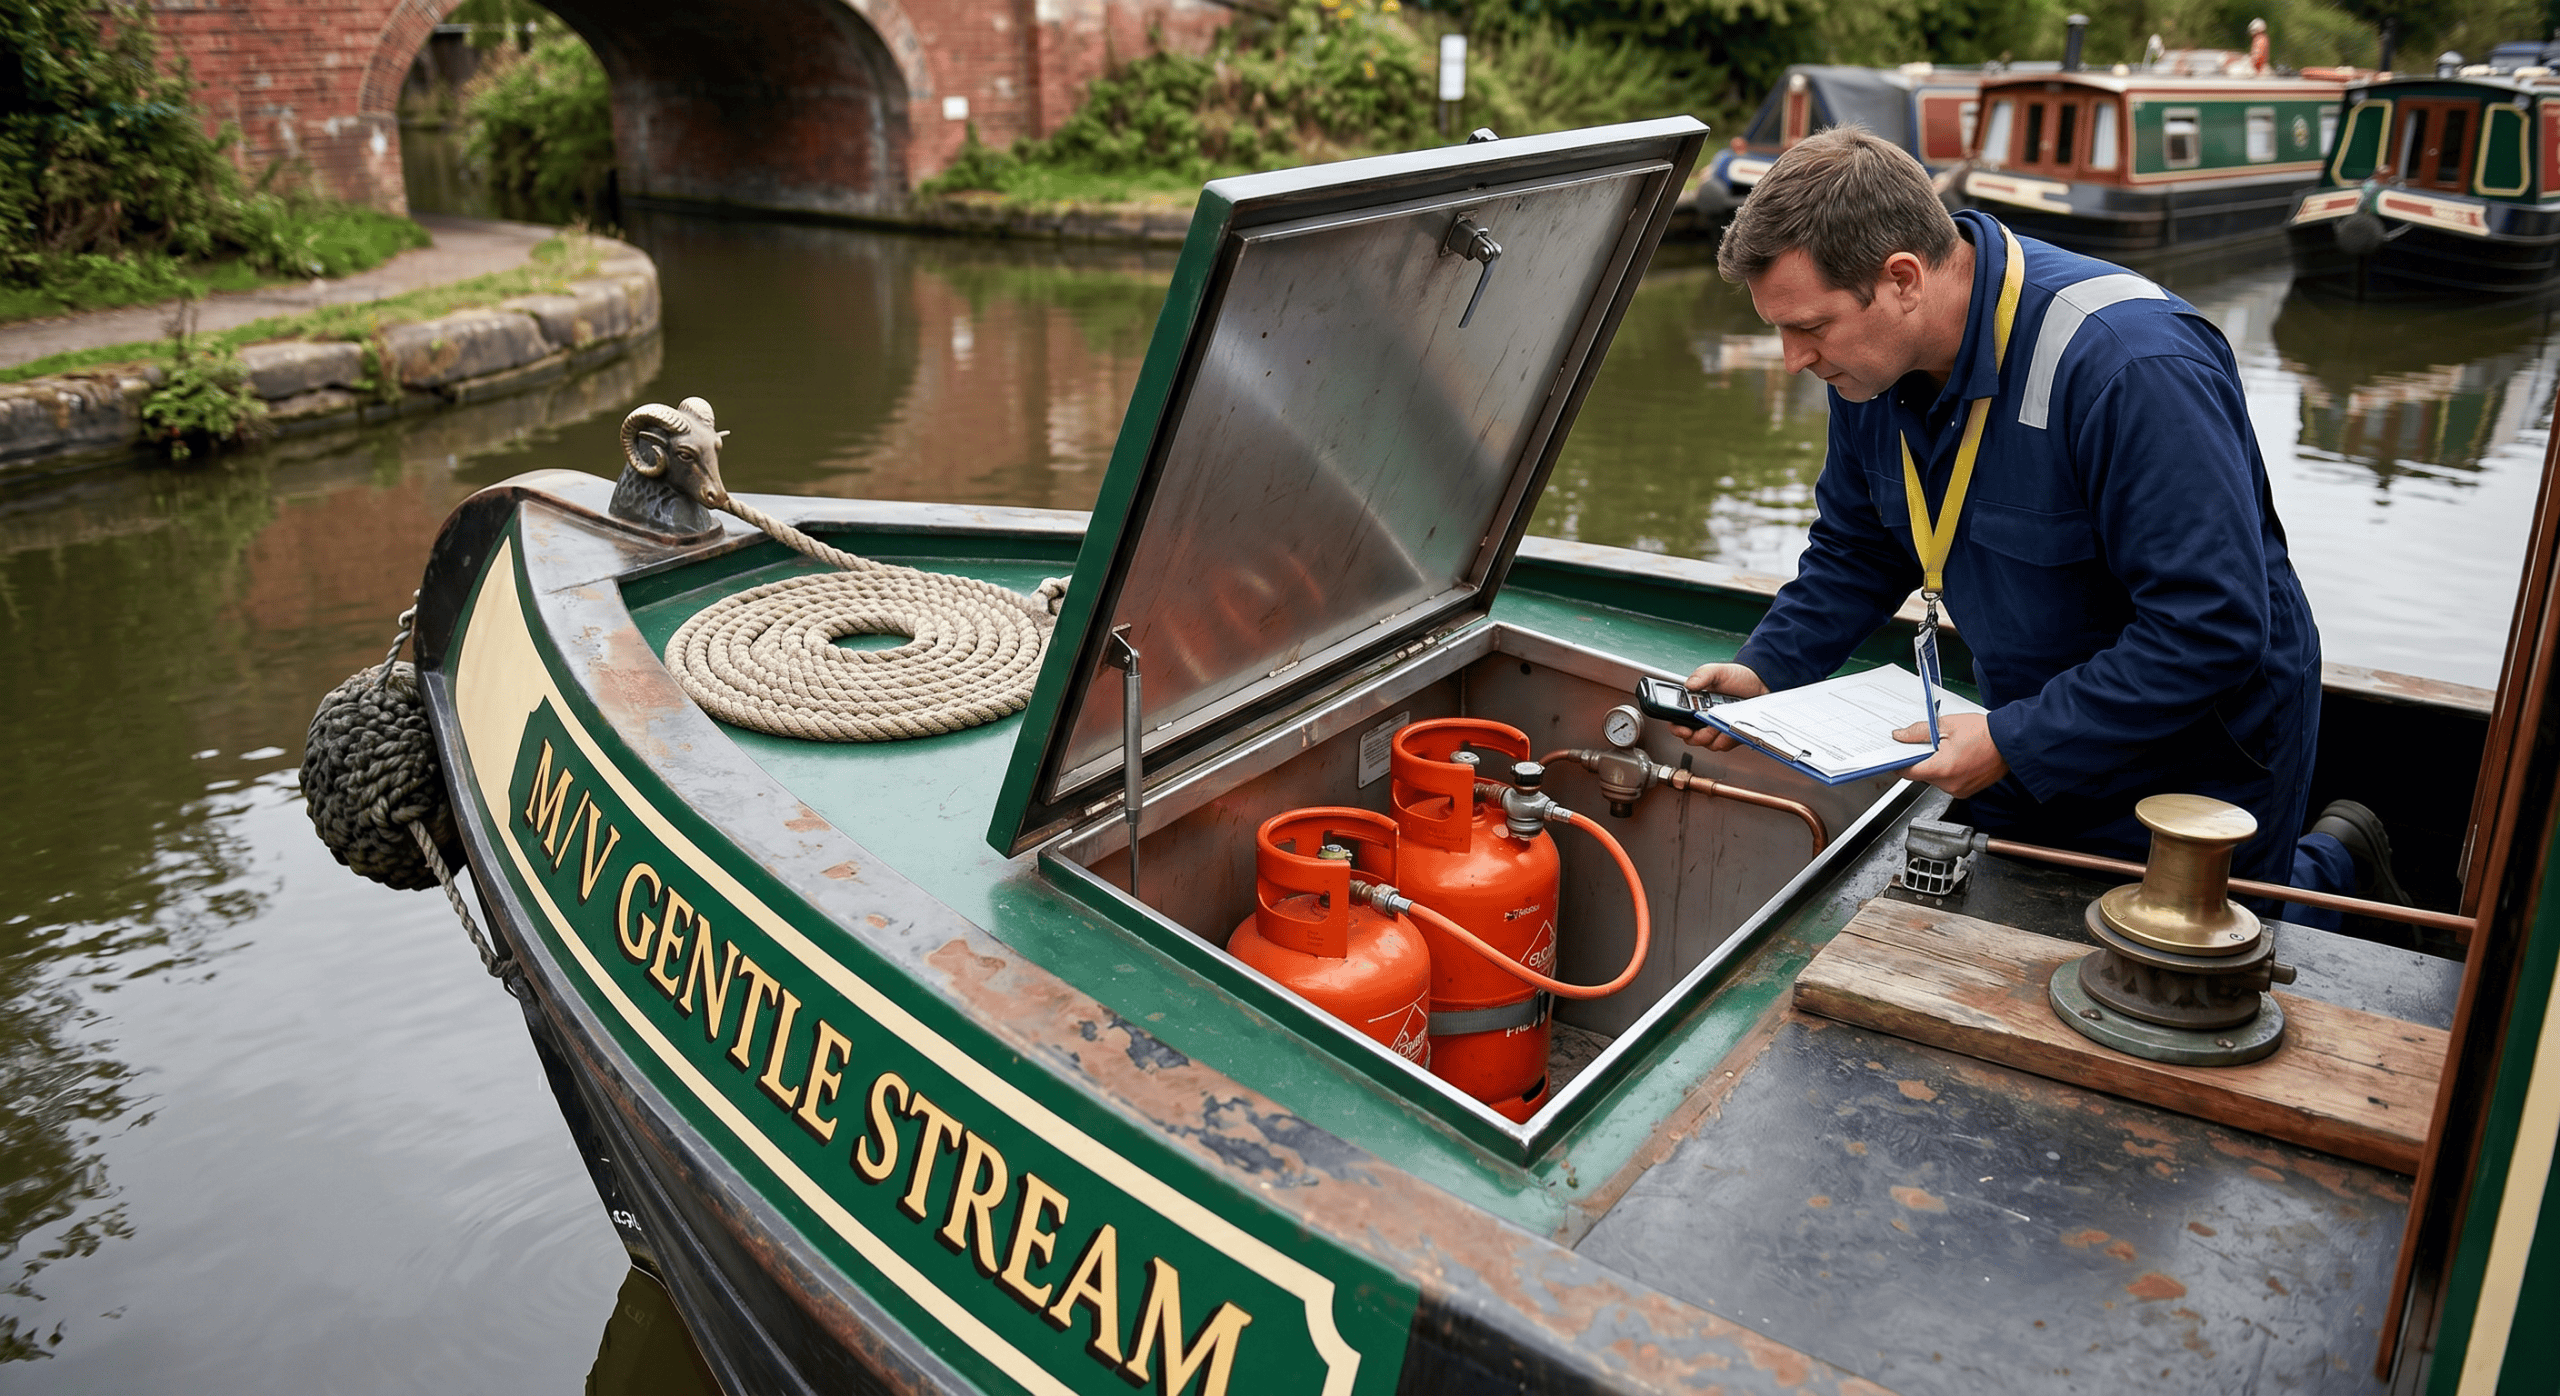
2. The Gas Locker: A Quick Visual Scan
As a Boat Safety Scheme (BSS) examiner, the cylinder locker is always my first stop. It is your first line of defence. If any of the basic checks listed here look wrong, do not try to patch it yourself—call in a professional.
| Feature to Inspect | What to Look For | BSS Examiner Insight |
| The Drain Hole | Look at the low-level drain hole at the bottom of the locker. Is it completely clear, or blocked by dirt, leaves, or rust? | LPG is heavier than air. If a leak occurs, the gas must be able to escape overboard. If the drain is blocked or sits below the waterline, it’s an immediate hazard. |
| Rust and Wear | Use a torch to examine the metal structure of the locker. Are there signs of heavy corrosion, flaky rust, or visible holes? | If the locker’s physical structure is compromised, gas can leak directly into your bilge instead of venting safely overboard. |
| Locker Contents | Open the locker and look inside. Are there loose tools, mooring pins, anchors, or gas bottles knocking against copper pipes? | Clear out all non-gas items immediately. Heavy gear shifting while cruising can easily crush or fracture a gas line. Soft items like life jackets and fenders can block drains. |
3. Around the Galley Cooker
Moving inside the vessel, your galley cooker requires careful observation. Remember, if the space or the flame looks incorrect, do not attempt to adjust the appliance or its pipework yourself.
The Distance Check
Look above and around the hob. Are there curtains, wooden bulkheads, window frames, or shelves sitting remarkably close to the burners? Over time, heat radiating from the cooker can dry out timber or ignite fabrics. If clearances look tight, you need professional guidance on how to legally and safely adapt the space. The cooker’s installation manual should show the required clearances to combustible materials.
The Cooker Mounts
Give your cooker a gentle nudge. Does it wobble, slide, or swing excessively on its mountings? Loose cookers are incredibly dangerous because their movement puts physical stress on the gas hose or pipe behind them. An engineer must secure the unit and verify that the rear connections haven’t been stressed or cracked.
The Flame Colour
Turn on each burner and look closely at the flame.
- Safe: A crisp, steady, sharp blue flame.
- Dangerous: A lazy, flickering yellow or orange tip.
A yellow flame is a definitive sign of incomplete combustion, which produces deadly Carbon Monoxide (CO). Turn the appliance off immediately, do not use it, and call an engineer to service it.
4. Reading a Bubble Tester (Non-Invasive Diagnostic)
A bubble tester is a fantastic, non-invasive visual tool built into many marine gas systems. It allows you to check for LPG leaks without dismantling a single component. However, it is an indicator, not a DIY repair kit.
How to Observe It:
- Ensure all indoor gas appliances (cooker, water heater, cabin heater) are completely turned off.
- Ensure the main cylinder valve in the gas locker is fully open.
- Press and hold the red button on top of the bubble tester down firmly for 2 minutes.
The Action Step:
Watch the fluid inside the glass vial while holding the button. If bubbles continuously rise through the liquid while the button is held down, gas is actively escaping somewhere down the line.
The Strict Protocol:
Do not try to hunt for the leak yourself. If you see bubbles, close the main cylinder valve immediately and contact us to locate and safely repair the leak.
5. Tracing the Copper Pipework
When tracing the visible runs of your gas lines, you are looking for total stability and perfection in the routing. The copper pipework must be completely rigid and secure, without any kinks or flattening around the bends. Because marine engines and water movement cause constant hull vibration, the pipework must be clipped or supported at least every 50 centimetres to prevent metal fatigue and dangerous stress fractures. Pay special attention to the connections, too: all pipe joint ends must be supported within 120 millimetres of the compression nut to ensure the mechanical joints aren’t carrying the weight or tension of the pipe. If you spot sagging lines, kinked copper, or missing clips, resist the urge to bend or push things back into place yourself—call out a Gas Safe engineer to assess and secure the system safely.
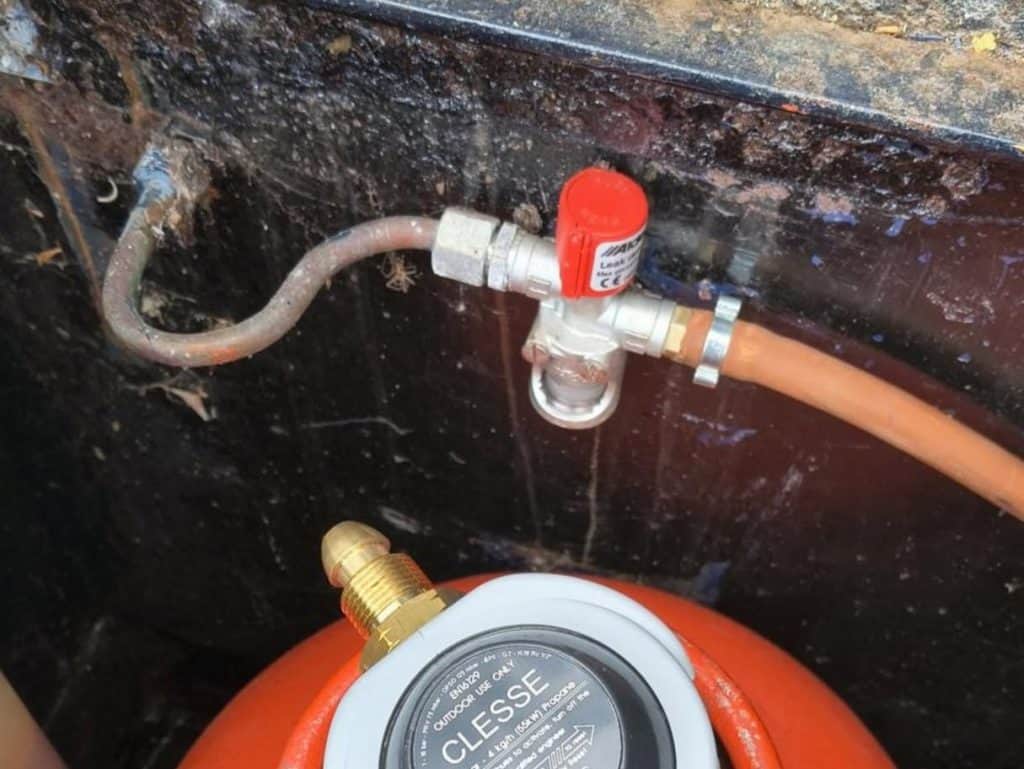
6. Regulators and Hoses
This is one of the most frequent Boat Safety Scheme (BSS) failure points I come across during waterway inspections. Both your regulator and your high-pressure flexible LPG hoses (pigtails) have a strictly limited operational lifespan, and they degrade faster in damp marine environments.
- The 10-Year Rule: Flexible LPG hoses feature a stamped manufacturing date code directly on the rubber. To stay compliant and safe, both the hoses and the regulator itself must be replaced at least every 10 years. Check your date stamps closely—if either component has crossed the decade mark, it is an immediate safety hazard and an automatic BSS fail.
- Visual Condition: Inspect the rubber pigtails for “crazing” (a network of tiny hairline cracks), unnatural stiffness, or visible swelling. If a hose feels brittle, rigid, or shows any signs of perishing, contact us immediately.
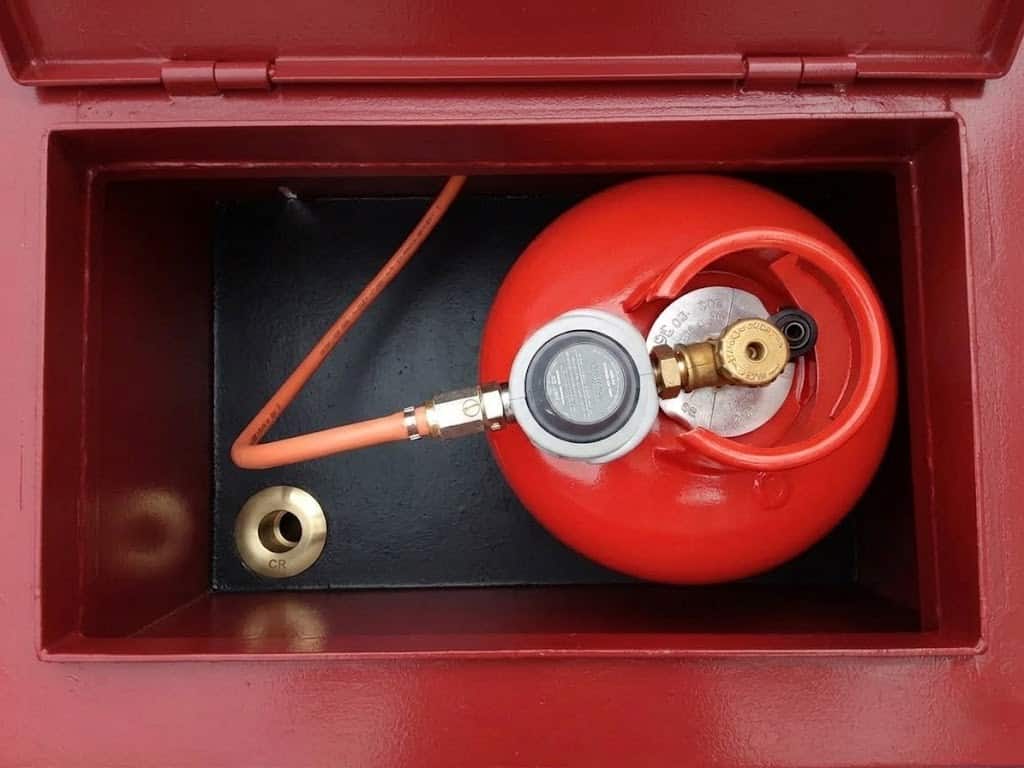
- Regulator Position: Look at how the regulator is physically mounted inside your locker. It must always be securely positioned higher than the cylinder valves.
If your dates are expired or your regulator is slung too low, do not attempt a DIY swap. Keep the gas isolated at the bottle valve and let a qualified marine Gas Safe engineer reconfigure and test the system safely.
7. Conclusion: Your Safety Is Worth the Professional Call
A visual check is an excellent habit that every boat owner should practice regularly. However, the human eye cannot see a microscopic hairline fracture in a copper pipe, nor can it measure gas pressure drops or working pressures. Qualified marine engineers possess specialised electronic leak detectors, micro-manometers, and flue gas analysers to diagnose faults accurately.
If your visual inspection raised some red flags, or if your boat is due for its yearly safety checkup, let’s get it sorted before it becomes an emergency. We offer expert mobile callouts, emergency repairs, and full Boat Safety Scheme diagnostic support.